kong作为非java全家桶的一员,在非java领域的网关系统中得到了广泛的应用
使用docker一键启动kong
参考项目:https://github.com/Kong/docker-kong/tree/master/compose
启动过程如下:
git clone https://github.com/Kong/docker-kong.git
cd docker-kong/compose
docker-compose up -d
查看操作效果:
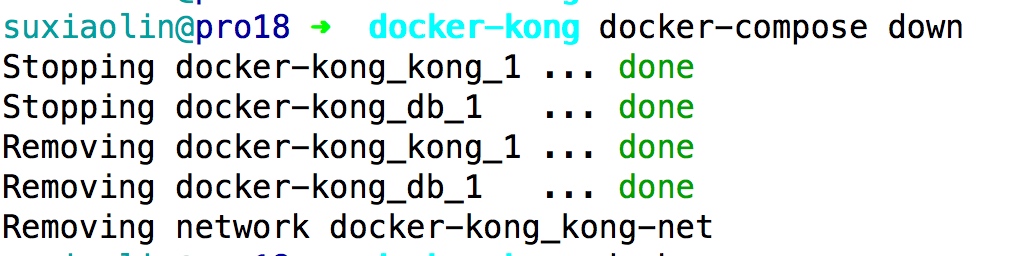

可以看到kong监控了4个端口
| 端口 | 作用 |
|---|---|
| 8000 | http网关 |
| 8443 | https网关 |
| 8001 | 管理api |
| 8444 | https的管理api |
注册服务等服务相关的操作使用管理api,普通api请求到http网关或者https网关
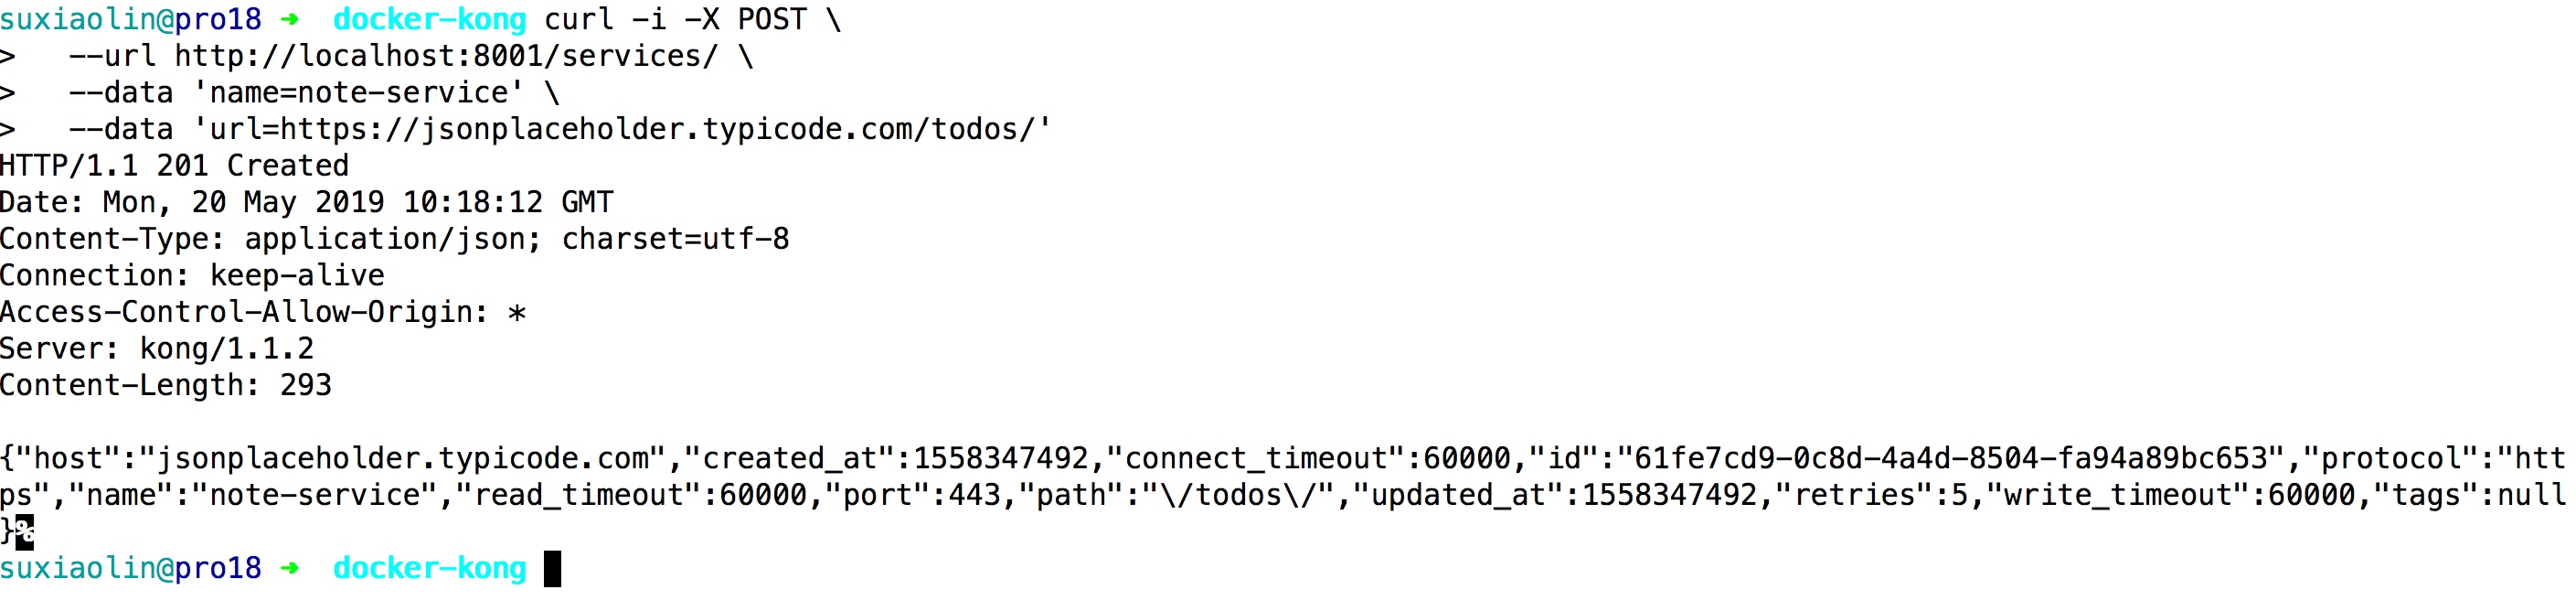
注册服务

比如说把服务https://jsonplaceholder.typicode.com/todos/注册到kong里面
curl -i -X POST \
  --url http://localhost:8001/services/ \
  --data 'name=note-service' \
  --data 'url=https://jsonplaceholder.typicode.com/todos/'
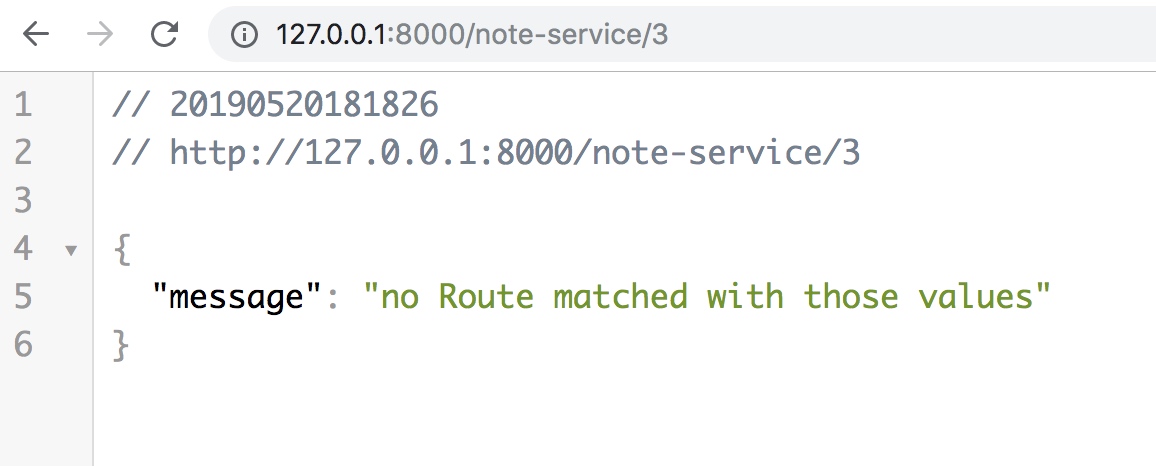
这个时候服务已经注册了,但是通过访问http://127.0.0.1:8000/note-service/3是无法访问的
这是因为并没有把"http://127.0.0.1"这个host映射到note-service
映射host
curl -i -X POST \
  --url http://localhost:8001/services/note-service/routes \
  --data 'hosts[]=127.0.0.1'
查看操作效果
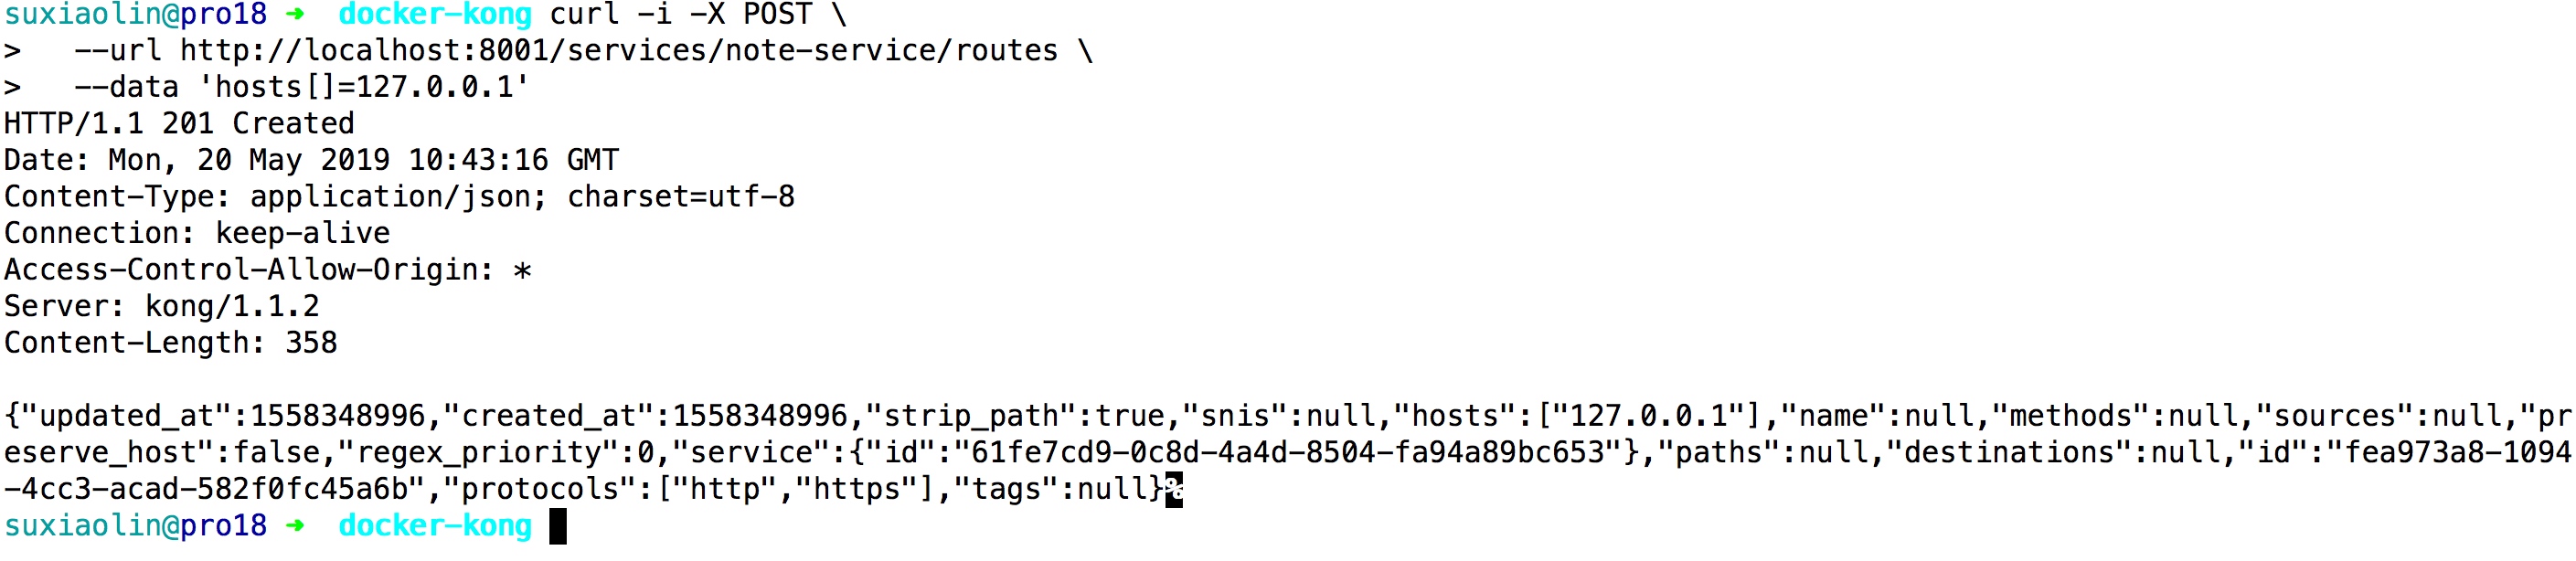
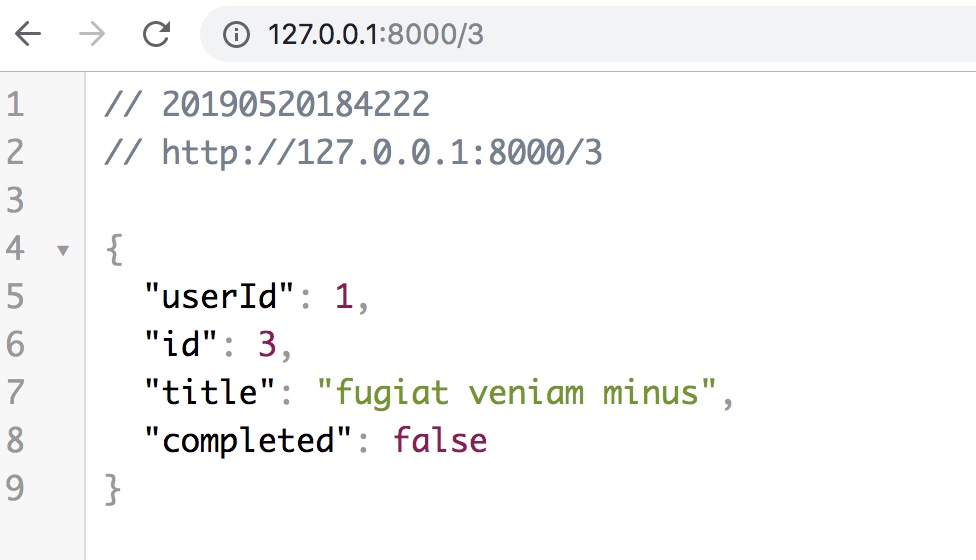
可以看到kong网关已经成功代理这个"https://jsonplaceholder.typicode.com/todos/"后端服务了
服务存活检测
字段参考:https://docs.konghq.com/1.1.x/health-checks-circuit-breakers/
upstream.json
{
    "name": "mynote",
    "healthchecks": {
        "active": {
            "concurrency": 10,
            "healthy": {
                "http_statuses": [ 200, 302 ],
                "interval": 0,
                "successes": 0
            },
            "http_path": "/",
            "timeout": 1,
            "unhealthy": {
                "http_failures": 0,
                "http_statuses": [ 429, 404, 500, 501,
                                   502, 503, 504, 505 ],
                "interval": 0,
                "tcp_failures": 0,
                "timeouts": 0
            }
        },
        "passive": {
            "healthy": {
                "http_statuses": [ 200, 201, 202, 203,
                                   204, 205, 206, 207,
                                   208, 226, 300, 301,
                                   302, 303, 304, 305,
                                   306, 307, 308 ],
                "successes": 0
            },
            "unhealthy": {
                "http_failures": 0,
                "http_statuses": [ 429, 500, 503 ],
                "tcp_failures": 0,
                "timeouts": 0
            }
        }
    },
    "slots": 10
}
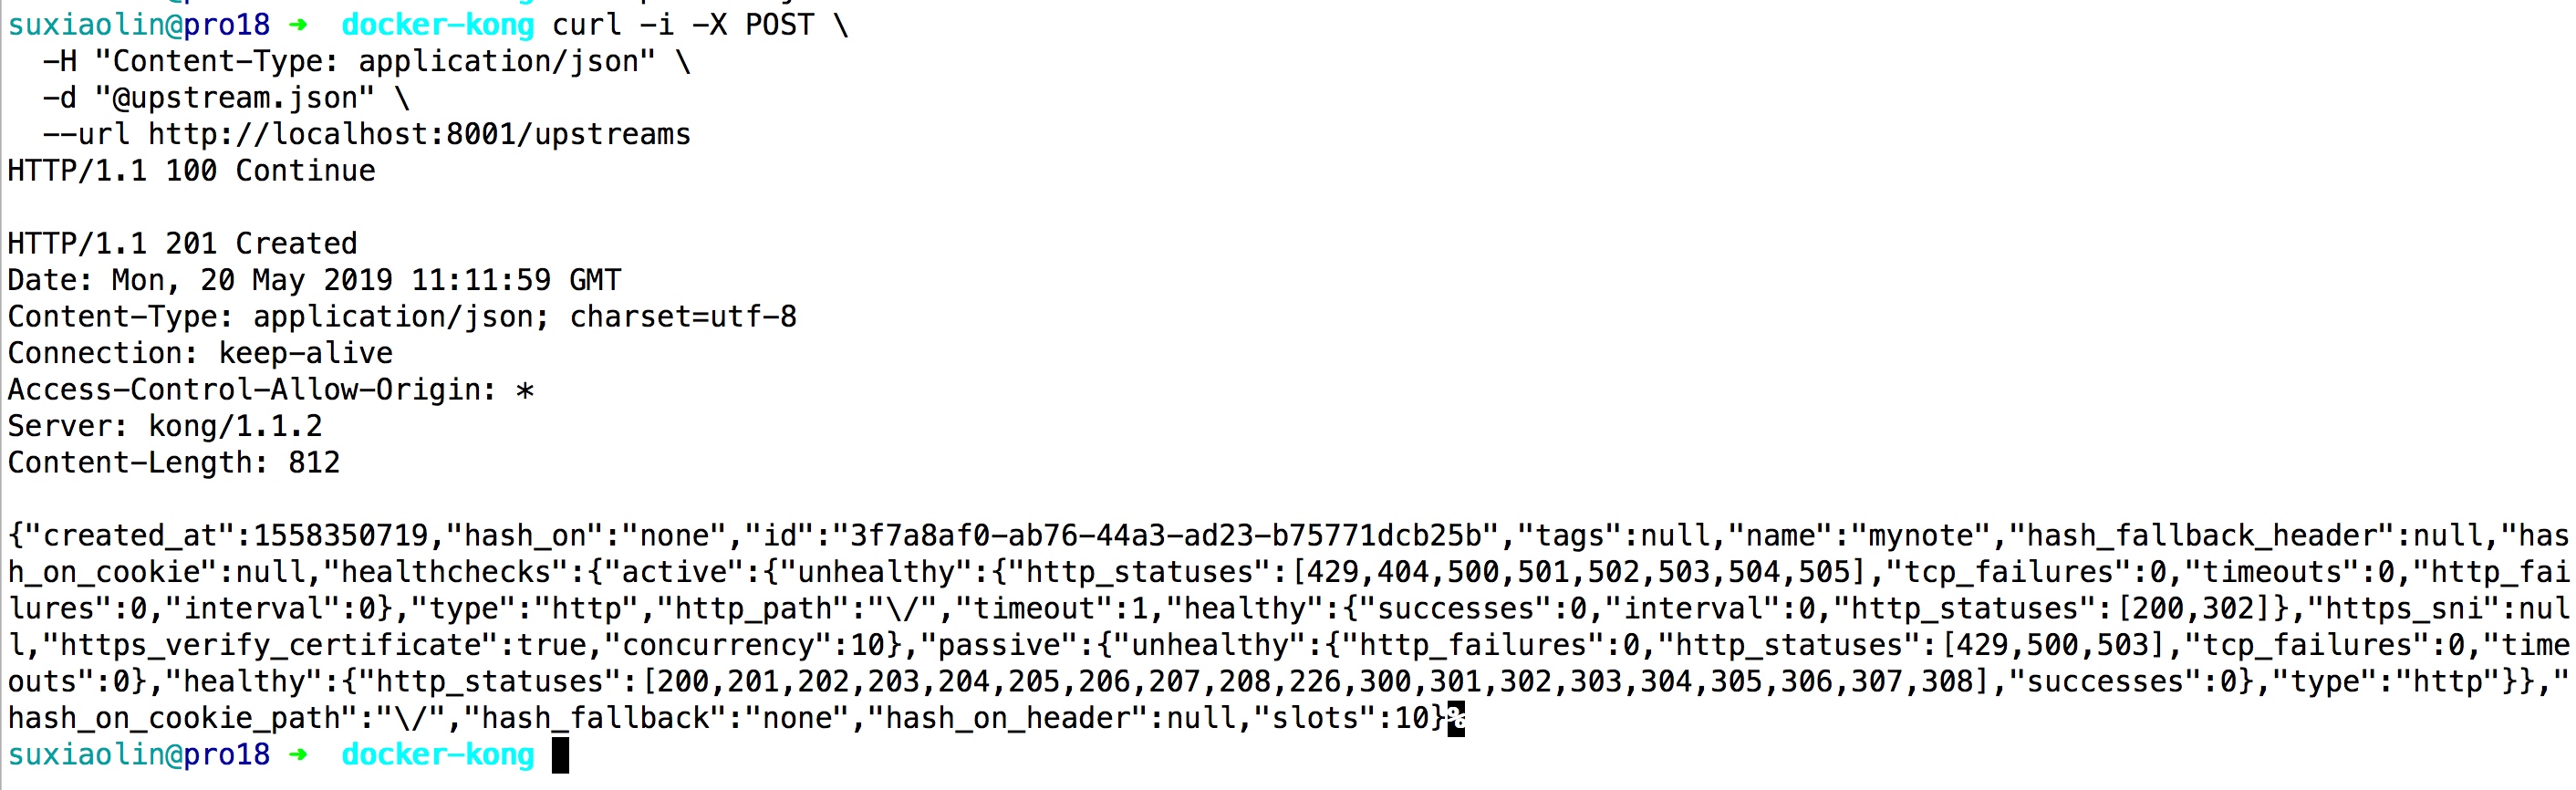
curl -i -X POST \
  -H "Content-Type: application/json" \
  -d "@upstream.json" \
  --url http://localhost:8001/upstreams
操作效果如下
ui界面
使用上面的curl管理kong虽然比较容易上手,但是看起来不直观,可以kong的可视化界面konga
docker一键启动命令如下
docker run -p 1337:1337 \
             --rm \
             --name konga \
             -e "NODE_ENV=development" \
             -e "TOKEN_SECRET={{somerandomstring}}" \
             pantsel/konga
效果如下
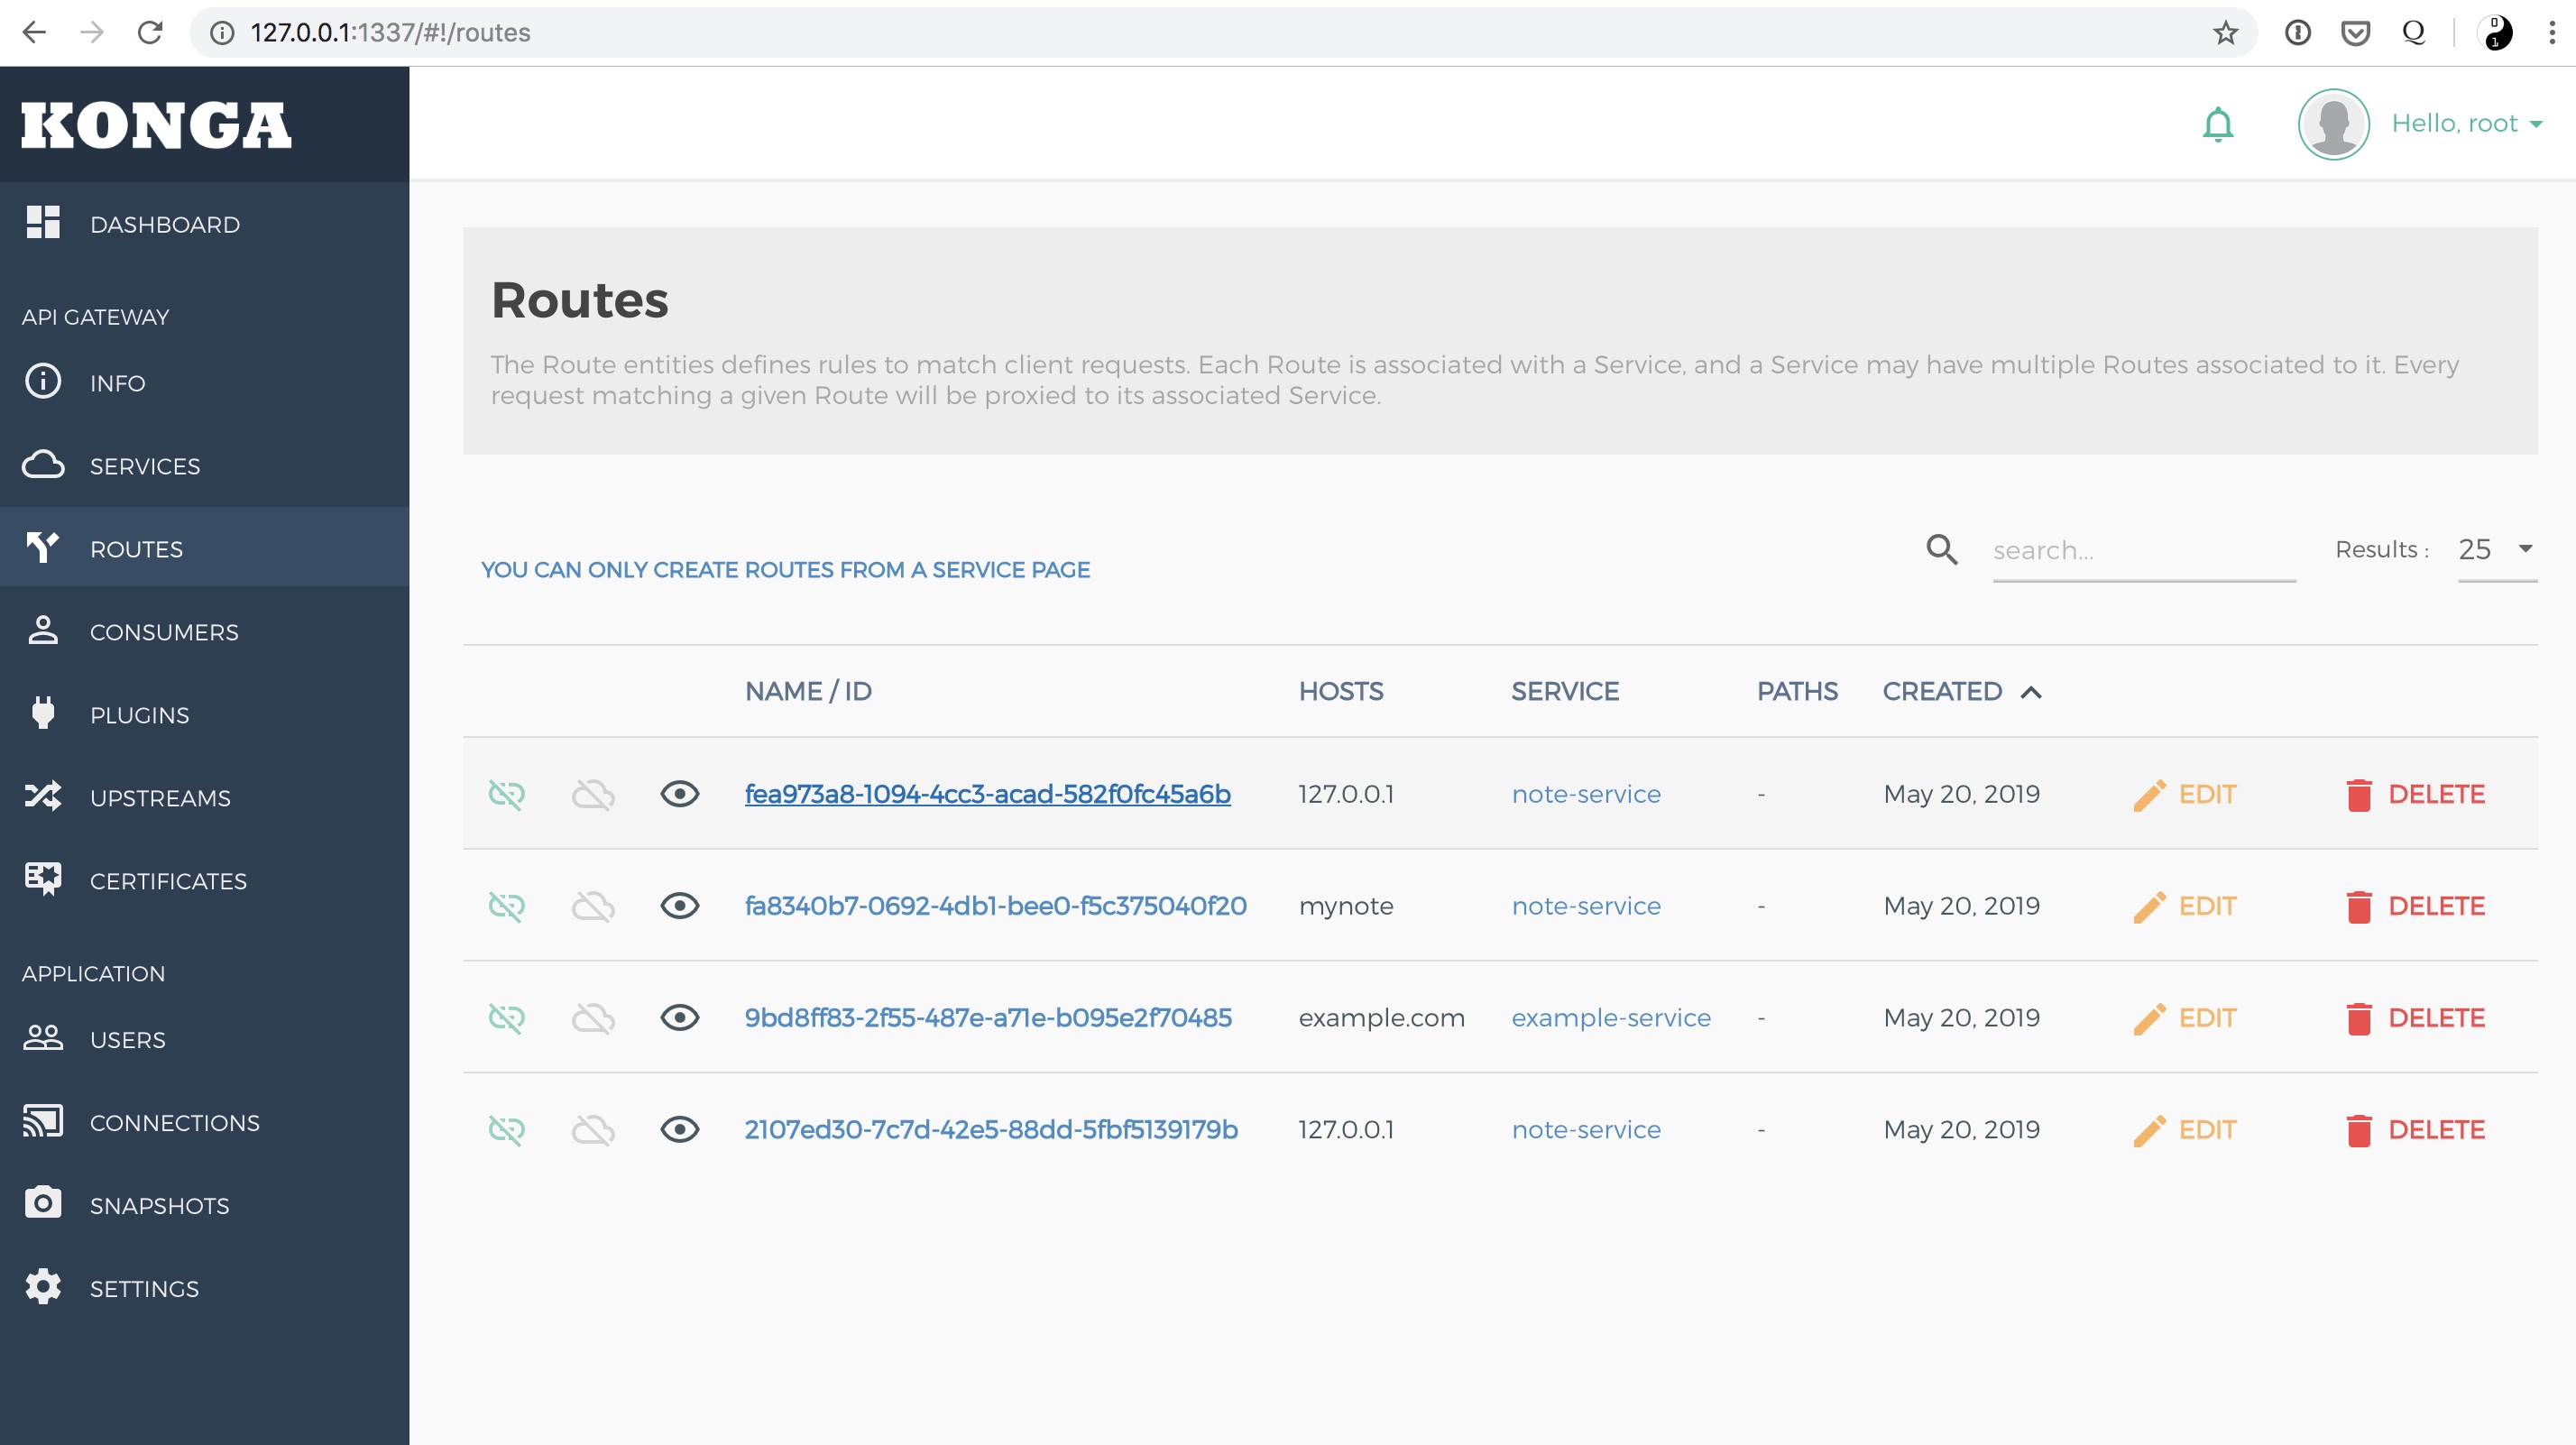
可以看到还是非常直观的